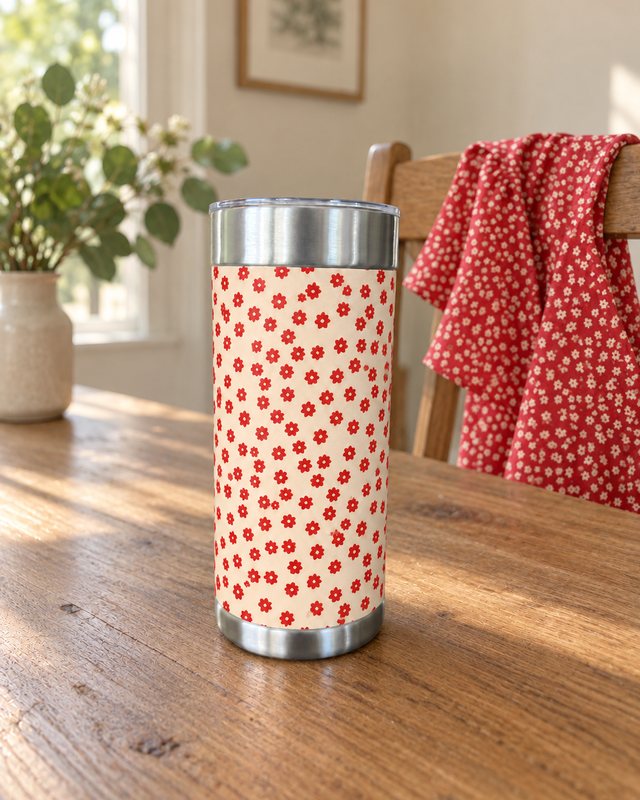
The outfit-inspired wrap
Make a tumbler to match your outfit.
Start with a photo of your favorite top. Match its pattern, or flip the colors for a different take.
Your photo · ChatGPT · Your own wrap
Let’s make it.
These prompts work best with Astra, but it’s not required. If you make your artwork in ChatGPT and need help adapting it to a print-ready format, send it to service@wrapware.com and we’ll do it for you, no charge.
Our starting point: a favorite red blouse.
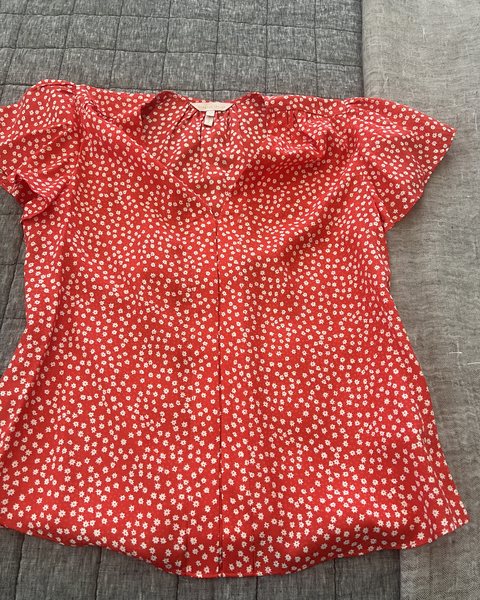
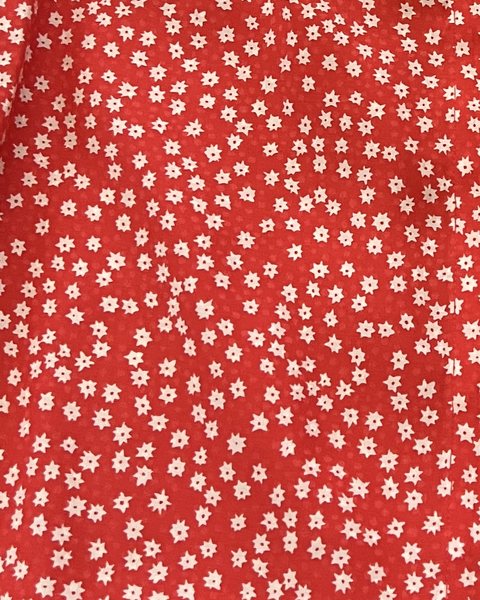
Photograph your favorite top.
Lay it flat in even light. Take a photo of the top and a close-up where the pattern is easy to see.
A few complete flowers or stripes make a better reference than a deep fold or shadow.
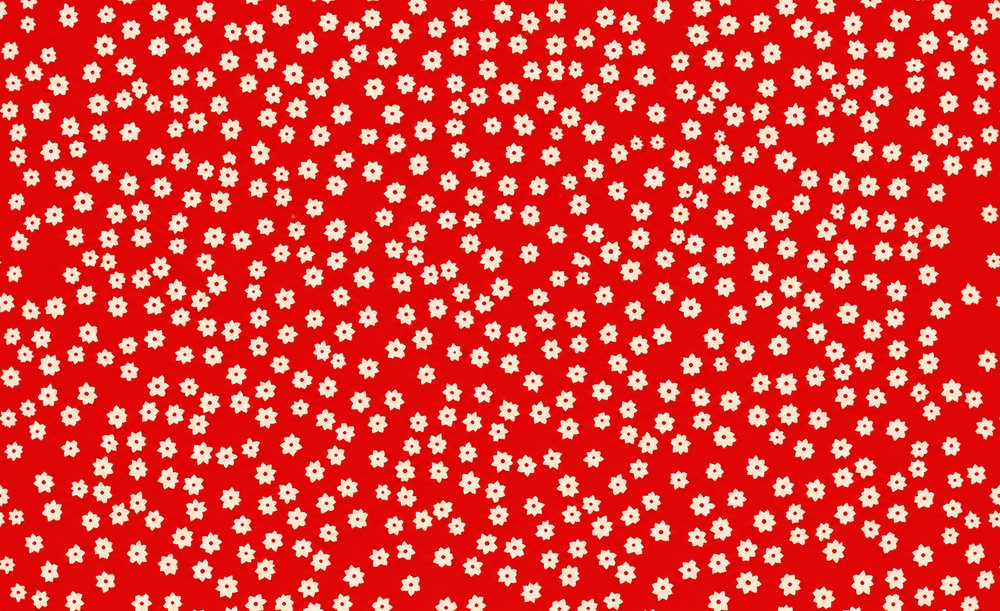
The fabric becomes a flat pattern.
Create one matching pattern.
Upload your photos to ChatGPT and use the first prompt. Start with the original colors and a flat design.
Create-your-pattern prompt
Use my uploaded clothing photo to create ONE flat pattern for a Wrapware tumbler wrap. Match the fabric’s colors, motif shapes, relative size and spacing closely. Use the clearest part of the fabric as your reference. Remove folds, shadows, seams, buttons and the photo background.

Compose for a horizontal canvas of exactly 2700 × 1650 pixels, exported with 300-dpi metadata. Fill the artwork to every edge. The canvas includes the 0.25-inch bleed allowance; don’t add extra bleed, guides or crop marks. Include only shapes present in the original print: no extra dots, fragments, text, borders or tumbler mockups.

Inspect for stray marks, merged shapes and malformed motifs. You may use precise code-based pixel editing to repair small defects while preserving the surrounding artwork. If those tools aren’t available, tell me. Let’s approve this one pattern before making variations.
Check the small details before making another version. A cup mockup can hide stray dots.
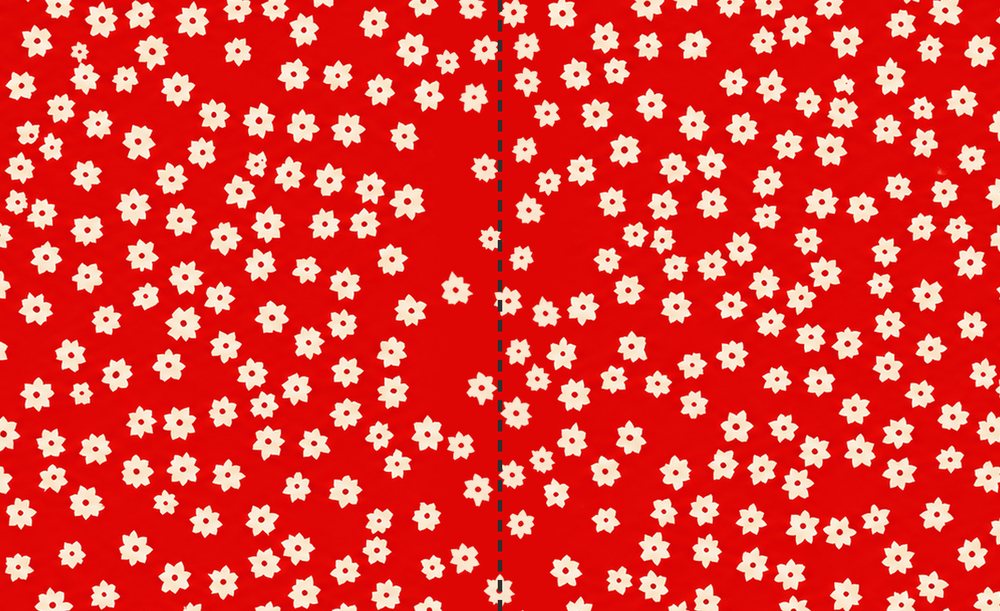
The dashed line marks the join, not the printed artwork.
Check the details and the join.
Mark any stray dots or misshapen flowers for a precise repair. Then make sure the two edges meet as one continuous pattern.
Fix-a-small-detail prompt
I like this pattern. Repair only the defects shown in my marked screenshot.

Use precise code-based pixel editing rather than regenerating the image. Remove stray marks and repair malformed motifs using clean examples from this same pattern. Preserve everything outside those small areas, including the colors, motif scale and arrangement.

Show me the repaired area and the full artwork. If this editing method isn’t available, tell me before trying another generated version.
Make-the-seam-continuous prompt
Make this approved pattern repeat seamlessly from left to right at the final Wrapware canvas size of 2700 × 1650 pixels.

Any motif crossing the right edge must continue at the same height on the left edge, with matching shape and color. Use precise code-based editing, preserving the main design. Keep motif size and spacing natural across the join. Don’t stretch, mirror, blur or crossfade motifs to hide it. Vertical tiling is not required.

Check two identical copies side by side and show a close-up centered on their join. If the necessary editing tools aren’t available, tell me.
Check two copies side by side. A flower at one edge should continue at the same height on the other.
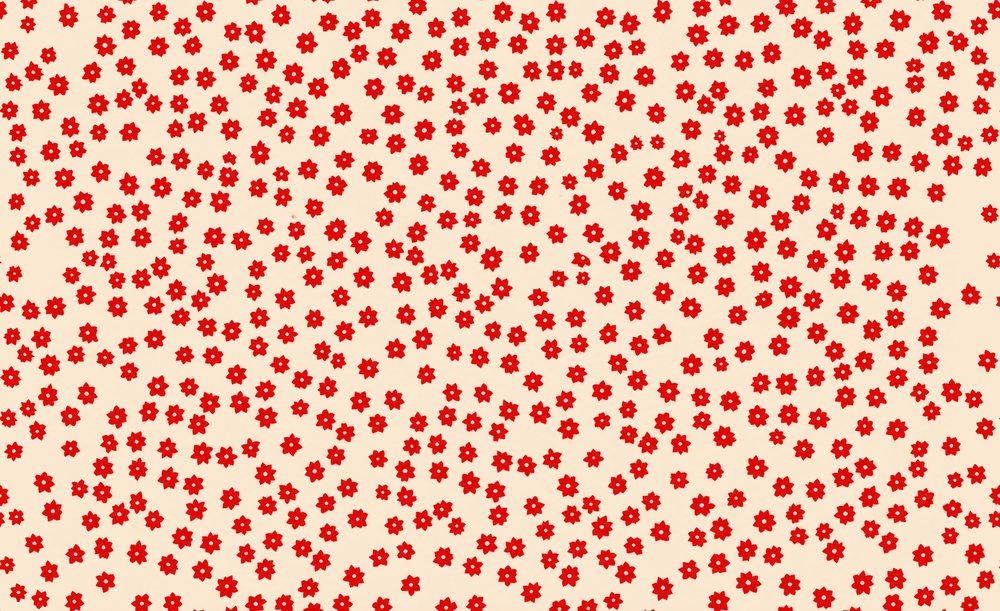
Match it, or flip it.
Try the colors in reverse.
Like your first design? Keep it. Or swap the two colors for a coordinating version with a different feel.
Color-swap prompt
Create an inverse of this approved two-color pattern by directly swapping the background and motif colors. Keep every shape, position, size and edge, including the continuous left-to-right seam.

Use a precise color replacement operation with code, rather than generating a new design. If the artwork has more than two main colors, ask which two I want to swap. If the necessary editing tools aren’t available, tell me.
Use the approved pattern for a direct color swap, so the cleaned shapes and seam stay intact.
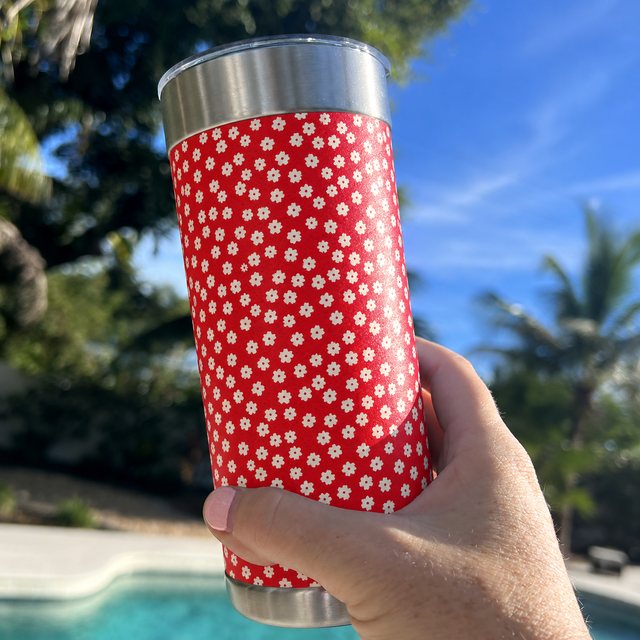
Prepare it. Preview it. Wear it.
Ask for the verified print file, then upload it to Wrapware and check the design on the cup in the 3D preview.
Print-file prompt
Prepare this approved pattern for a Wrapware wrap using code-based image editing.

Export a horizontal PNG or JPG at exactly 2700 × 1650 pixels with 300-dpi metadata. Scale proportionally without stretching or redrawing the motifs. Fill the artwork to every edge. The canvas includes the 0.25-inch bleed allowance; don’t add extra bleed, guides or crop marks. Repeated motifs may continue off the edges; keep any text or focal elements at least 150 pixels inside every edge.

Open the saved file and verify its actual pixel dimensions and dpi metadata. Check that the left and right edges still join continuously after resizing. Give me the downloadable file and a side-by-side seam preview. If the source needs enlarging, tell me; changing dpi alone does not add detail. If the necessary tools aren’t available, tell me.
Check the saved dimensions and the seam. Setting “300 dpi” alone won’t add image detail.
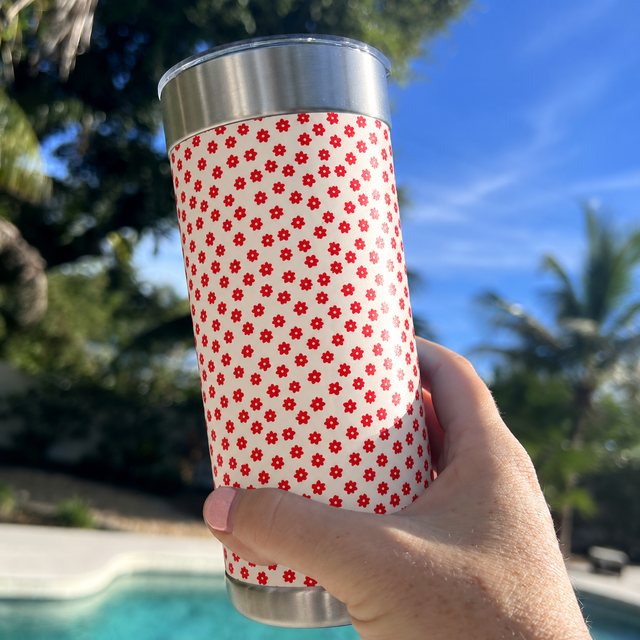
Two ways to make it yours
An accessory that goes with you.
Keep the matching look, flip the colors, or start again with another favorite top.
Good to know
What makes a good photo of my top?
Lay it flat in even light, then take one photo of the whole top and one close-up where a few complete flowers or stripes are easy to see. Deep folds and shadows make the pattern harder to read.
Why make one design first?
Fix the small details and the seam once, then swap the colors. That way both versions share the same cleaned shapes and the same continuous join.
What’s the seam, and why does it matter?
The left and right edges of the wrap meet on the cup. A flower cut off at one edge should continue at the same height on the other. The seam prompt fixes that; check two copies side by side to be sure.
Does my top need to be two colors?
No. The color-swap prompt works best with two, but a multicolor print still makes a great matching wrap. Just skip the flip step.
What size does the wrap file need to be?
Exactly 2700 × 1650 pixels, horizontal, as a PNG or JPG with 300-dpi metadata. Extend the pattern to every edge and keep any focal elements at least 150 pixels inside. The canvas already includes the 0.25-inch bleed allowance, so no extra bleed, guides or crop marks.
Want help getting it print-ready?
Send your file to service@wrapware.com and we’ll adapt it to a print-ready format for you, no charge. Then you order as usual.
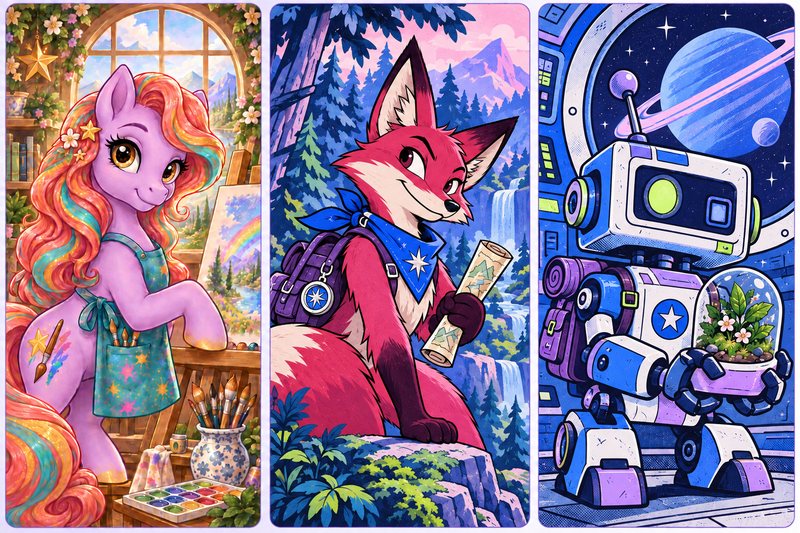 Team activityGet to know your team through their characters.A team-building workshop: pick a world, give everyone an original character, then reveal the team.Read the guide →
 Business cardTurn your tumbler into a business card.Put your links on a cup: a links page, a QR code and a wrap, all made in ChatGPT.Read the guide →
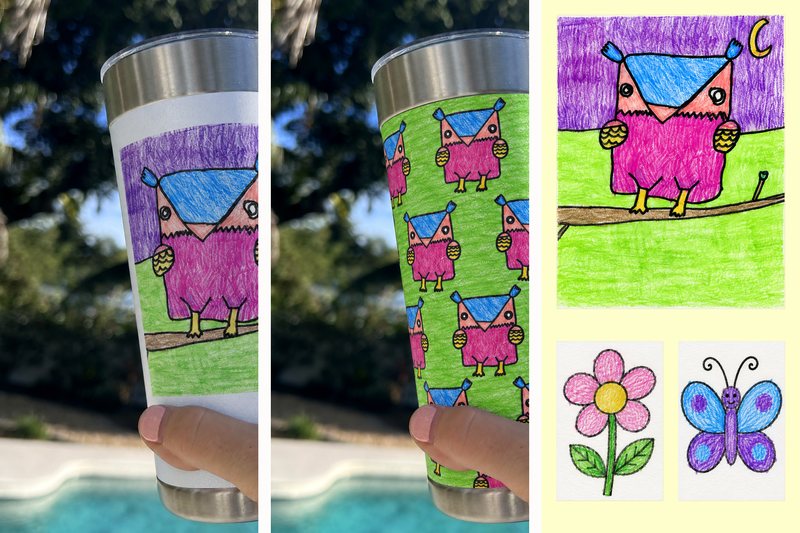 FamilyHow to turn your child’s drawing into merch.One big drawing, a repeat, or a few together. Every wobbly line belongs.Read the guide →
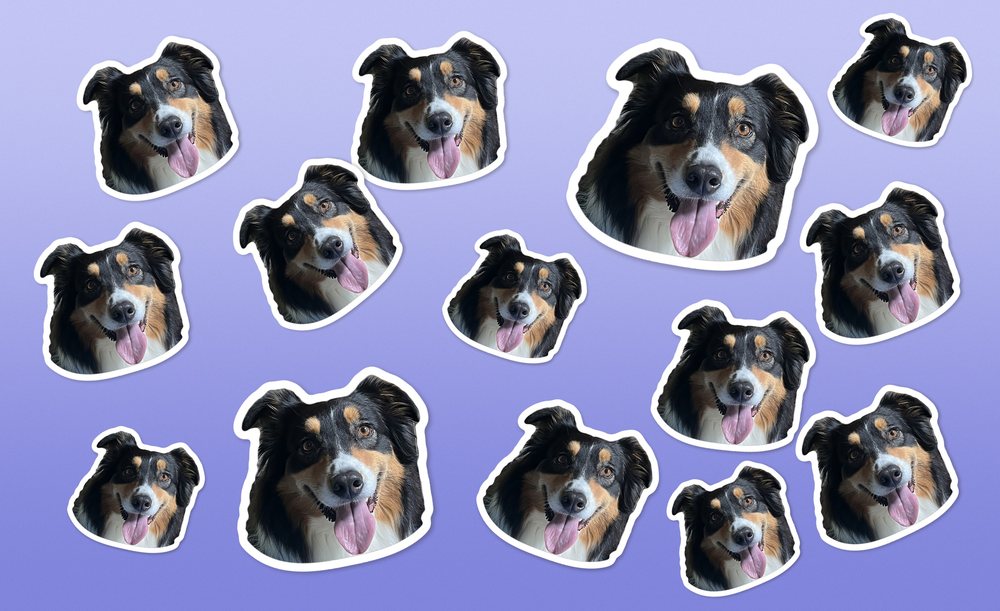 Pet portraitHow to make a sticker pet portrait.Your favorite face, your everyday cup. Made in Wrapware Studio.Read the guide →


